Sewing With Silhouette without the Rotary Blade
Mar 19, 2021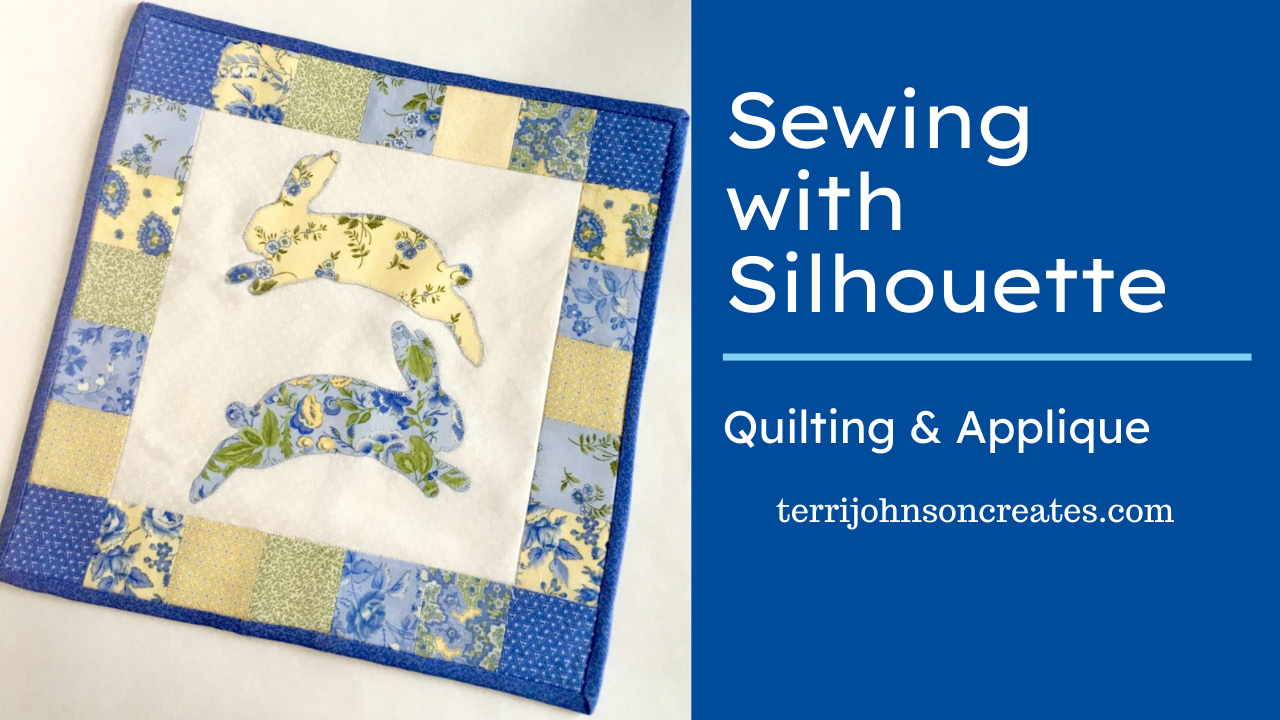
This post was written prior to the release of the Cameo 4 and the Rotary Blade. Today’s post will focus on cutting quilt blocks & appliqué without any fusible backings. While I’ve shared about cutting with fusible backing before for machine embroidery appliqué, many quilters do not like the “plastic-y” feel that stays in your fabric with fusibles such as Hean N Bond. So, I’m going to share how I cut most of the parts for this Mini Easter Quilt on my Silhouette Cameo. No need for stabilizers or freezer paper.
Preparing the Fabric
The fabric I’m using is 100% cotton fat quarter bundle from Moda Fabrics. I love blue & yellow together, and I’ve been saving this fabric for quite some time! It just said “Spring” to me! The first thing I did was treat the fabric to prepare for cutting. Because the Silhouette blade is a straight blade, it pulls through the fabric — as opposed to a rotary blade that rolls across it. If you don’t secure the fabric to the mat well, and stabilize it some way — then you will not get a clean, accurate cut.

While there are several ways to stabilize your fabric, my all time favorite is Terial Magic, Fabric Stabilizer. Believe me, I’ve tried just about every product on the market to cut your fabric with the Cameo, and I like this the best. Terial Magic is a unique liquid fabric stabilizer that binds the fibers of fabric together, magically transforming it into a stable and paper-like material that won’t fray when cut. It is non-toxic and doesn’t leave any white flakes or build up on your iron or machine needles! The thing I really love about it, is once your project is complete, you can wash the fabric –> Terial Magic washes out –> and your fabric returns to its original hand. Love this! No stiff or plastic-feeling stabilizers remaining.
 So, let’s get started! First, I cut my fabric to the size pieces that I needed for this project. Each piece was about 6″ x 18″ and I used 8-10 different fabrics.

Next, I sprayed my fabric with Terial Magic, Fabric Stabilizer. You can spray into a bowl or plastic bag, but my studio is upstairs at my house — so I just use the bathroom sink. Be sure to saturate the fabric well. I turn it over to the back side and check, to be sure there are no dry spots. Then, I squeeze it to distribute the Terial Magic into the fibers & throughout the fabric.

Now, hang the fabric until it is damp dry — 10 to 15 minutes.

Once the fabric is almost dry — but still a little damp — you want to iron it completely dry & flattened out. Then your fabric will be paper-like and fray-free. In this picture, it is stiff — like a deck of cards. Once your fabric has been stabilized, you want to cut it down into 6″ x 12″ pieces, so that you can fit 2 fabrics on the mat at once.

Cutting Your Fabric
While my fabric was drying, I created the files for cutting the blocks in Silhouette Studio. Since I wanted my finished quilt squares to be 2″, I cut each square at 2 1/2″ — to allow for 1/4″ seam allowance on all sides. Using the Rectangle Drawing Tool, I created a 2 1/2″ square. (Hold down the Shift key while drawing your rectangle, and you will get a perfect square).

Now, using the Replicate Tool, I created a row of 4 squares.

Then, select those four squares, and choose Column of Four – to give you a page of 16 squares.

At this point, I selected the top 2 rows and moved them up. I also selected the bottom two rows & moved them down — so that I could be away from the edges of the two fabrics when cutting. (I’m going to cut two different pieces of fabric on the same mat.)

Place two of your fabrics on the mat like the picture below. Note: It is very important that your fabric be securely stuck to the mat. If not, then it will lift up when cutting & distort your cuts. Unless my mat is new, I usually spray it with a temporary, repositionable spray adhesive like Scotch 3M Mount Spray, just to be sure that the fabric will stay stuck to the mat.
Use your squeegee or a brayer to smooth over your fabric & be sure that it is tacked down well. This is very important! Now load your mat to cut!

I often get questions about whether or not I use the fabric blade — and I usually do! Just to let you know, the blue Silhouette fabric blade & regular ratchet blade are the same. They are simply color coded so that you can keep them separate. Just like your good Gingher scissors are kept only for fabric, its smart to keep a blade just for fabric. Paper & vinyl will dull your blade much quicker. Now, in this example, I actually used the AutoBlade and selected the setting for “Fabric, Thin like cotton”. Personally, I LOVE the AutoBlade, and at the rest of it getting dull with other mediums, I just stocked up on AutoBlades when they were on sale! (This post was written prior to the release of the Cameo 4 and the rotary blade).
Once the fabric is cut, remove any excess fabric, leaving only your squares. (For purposes of the blog post, I separated my squares before cutting – so that you could see how well they cut. I realize that in the software pics, my squares are all touching & sharing cut lines. This is actually the preferable way to do this. Just be sure they aren’t overlapping).

Repeat this process with all of your fabrics & set your blocks aside. I realize that this process may take a few minutes — and you might be thinking – “I can cut this faster with a rotary cutter”. However, you will never get the accuracy from a rotary cutter that you can from this process, using Terial Magic & the Cameo. You can see how the fabric acts like paper in this picture, and the pieces stack up like a deck of cards. When using 1/4″ seam allowance, accuracy & precision are so important in creating your quilt! No stretching or shifting when you cut or sew!

Cutting Bunny Applique
For the Bunny Appliqué portion of this project, download the FREE Bunny Cut File here, to be used with your Silhouette Cameo. I flipped him horizontally, to create the second bunny — and sized them to about 6″. Repeat the cutting process above, and cut out your two bunny appliqués! (Don’t you love how crisp & clean the appliqué is cut??) Now you are all ready to sew.

At Your Sewing Machine
I first created the borders, using a row of 7 blocks across the top & the bottom, and 5 blocks down the sides. Stitch the blocks together, using a 1/4 seam allowance. Press the seam allowances open as you go. These blocks, treated with Terial Magic, go together so quickly & accurately! There is no stretching of the fabric or shifting. Terial Magic acts as a stabilizer, not only when you cut, but when you stitch!
Once my borders were complete, I cut a 12×12″ block for my center background (which will be trimmed down later) — and placed all of my pieces down to get an idea of where I wanted them to go. Place your bunnies in the center of the block. (Take a picture on your phone of your layout, just in case you get interrupted!)
Once I have everything where I want it, I sprayed the backside of the bunnies with a little temporary fabric spray adhesive (Sulky KK200) and put them back in the center of the block. At my sewing machine, I used a tiny blanket stitch to secure them. Again, with the bunnies treated with Terial Magic, there is no need for extra stabilizer when you stitch. If you don’t have a blanket stitch on your machine, you can use a tiny zig zag stitch, or even a straight stitch to appliqué the bunnies in place. If your machine has a “needle down” setting, I recommend you use that — so that you can easily navigate the small curves on these bunnies.


Once the bunnies are appliquéd in place, cut your center block down to 10 1/2″ square, keeping the bunnies centered. Now, sew your two side borders to the block, and then the top & bottom — You are almost done!
Cut a backing that is 14 1/2″ square. Layer your completed block with a layer of thin batting, and backing. Since this is such a small mini quilt, quilting the center block is not necessary — but of course, you can if you want! I simply straight stitched “in the ditch” around the center block.
Binding
To cut the fabric for the binding, I cut strips 2 1/2″ x 18 (because I’m working with fat quarters). You will need a total of 56″ to go around your quilt, plus a few extra inches to miter the corner finish off the beginning & end, so cut your number of strips accordingly. You can use your favorite binding method. If you need a little help with this, I highly recommend the Ultimate Quilt Binding Tutorial from Missouri Star Quilts.

And now you are done!!! I love making seasonal Mini Quilts because they are fast & you can change them out often!

Until Next time....

Stay connected with news and updates!
Join our mailing list to receive the latest news and updates from our team.
Don't worry, your information will not be shared.
We hate SPAM. We will never sell your information, for any reason.
Meet The Author

