Printing with the Silhouette Alta Plus
May 20, 2020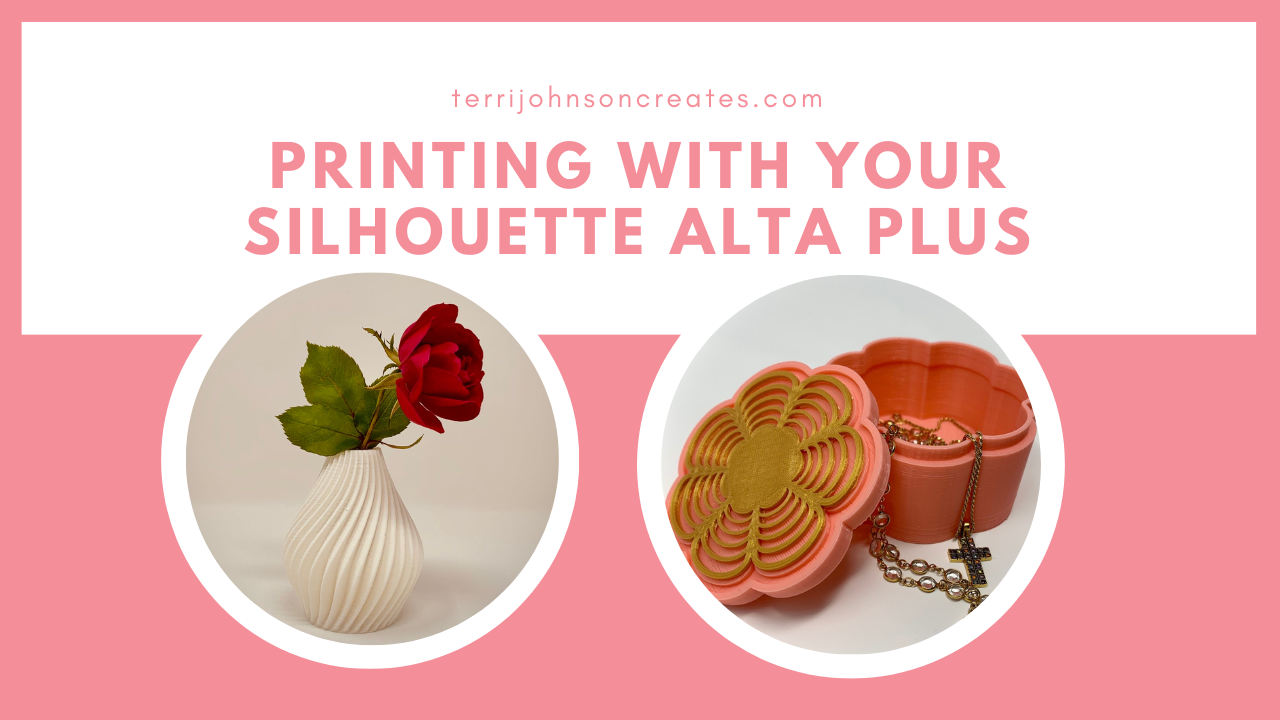
A few weeks ago, I unboxed my original Silhouette Alta & began setting it up, because I wanted to print ear saver hooks for healthcare workers. I have to admit, its been in the box way too long! In the time since then, I’ve literally printed hundreds of hooks, acquired the new Silhouette Alta Plus — and learned a lot of 3D printing with these machines! I’m not really sure what I was afraid of! I have had so much fun with the Alta, that I wanted to share some of it with you!
First of all, I recommend that you watch Kelly Wayment’s (of Finding Time to Create) 3D Printing Basics Video Class. This video walks you through unboxing, setting up & printing with your Alta 3D printer. She has so much great information & after following along with Kelly, you will be well on your way to creating your first print. Not only does Kelly have great tutorials on the Alta, but she has been a great help to me, personally – -in learning how to use my Alta! Thanks, Kelly!
 The original Silhouette Alta has been out for a couple of years, and the new Silhouette Alta Plus was recently released, and is in stock & shipping from Silhouette America. The new Alta Plus has some updated features — including a built in fan for cooling filament as it prints, and calibration knobs — that make it a little easier to calibrate the Alta.


In my previous post about the Alta, I shared some tips & tricks that I found helpful when getting started. You can check some of those out here.
While printing all of the Ear Saver Hooks, I usually had both printers running at the same time! You can print with multiple machines using the Silhouette 3D software. (You will notice I have a little fan blowing on the original Alta, to help cool the filament while printing. The Alta Plus has the built in fan).

’m going to be honest with you, when the Alta was first introduced at Silhouette Summit, I couldn’t imagine what I could use it for! The Ear Saver hooks were a unique need — and the Alta really preformed well for those — but I began to explore what other things I could create. Since I am so familiar and comfortable with Silhouette Studio, I have been doing all of my designing there, & then opening the files in the Silhouette 3D Software to create 3D items.
In order to print with the Alta or Alta Plus, you need to download and install the Silhouette 3D Software from Silhouette America. The software is compatible with both PC and Mac computers. With the Silhouette 3D software you can import .STL, .OBJ and .S3D files. You can also access your Silhouette library and automatically turn a number of 2D files into 3D objects with the Silhouette 3D software. So what this means is that you can use many of the Studio designs that you already own or create, and turn them into a 3D design to print. However, not all studio designs are suitable for 3D printing — and work better for cutting. So you will need to play around to see what designs work best!
CREATING DESIGNS FROM SILHOUETTE STUDIO

There are 6 different “extrusion” options (options that turn your files into 3d print files) — which are basic extrusion, 2 different types of boxes, cookie cutter, stencil & wax pendant. I created this star Christmas ornament, by using Flexi-shapes in Silhouette studio, saving it in .studio format, and then opening it as a basic extrusion in Silhouette 3D software. Upon opening, I selected the basic extrusion option – -and my ornament was created! Its just that simple! It was printed with the new Gold Filament from Silhouette America.


I repeated the process pretty much the same way for the “Terri” Keychain – -but used Text instead of Flexishapes. I simply typed my name (using the font ZP Toyworld from the Silhouette Design Store), I moved the characters a little closer together, and added the loop using Flexishapes. Then, I saved the file & opened it in the 3D software — choosing Wax Pendant.


And this scary guy was created in Studio as well, using a tracing of a line image & other tools in Silhouette Studio — then opened as a basic extrusion in the 3D software. He was a cupcake topper for my grandsons birthday!

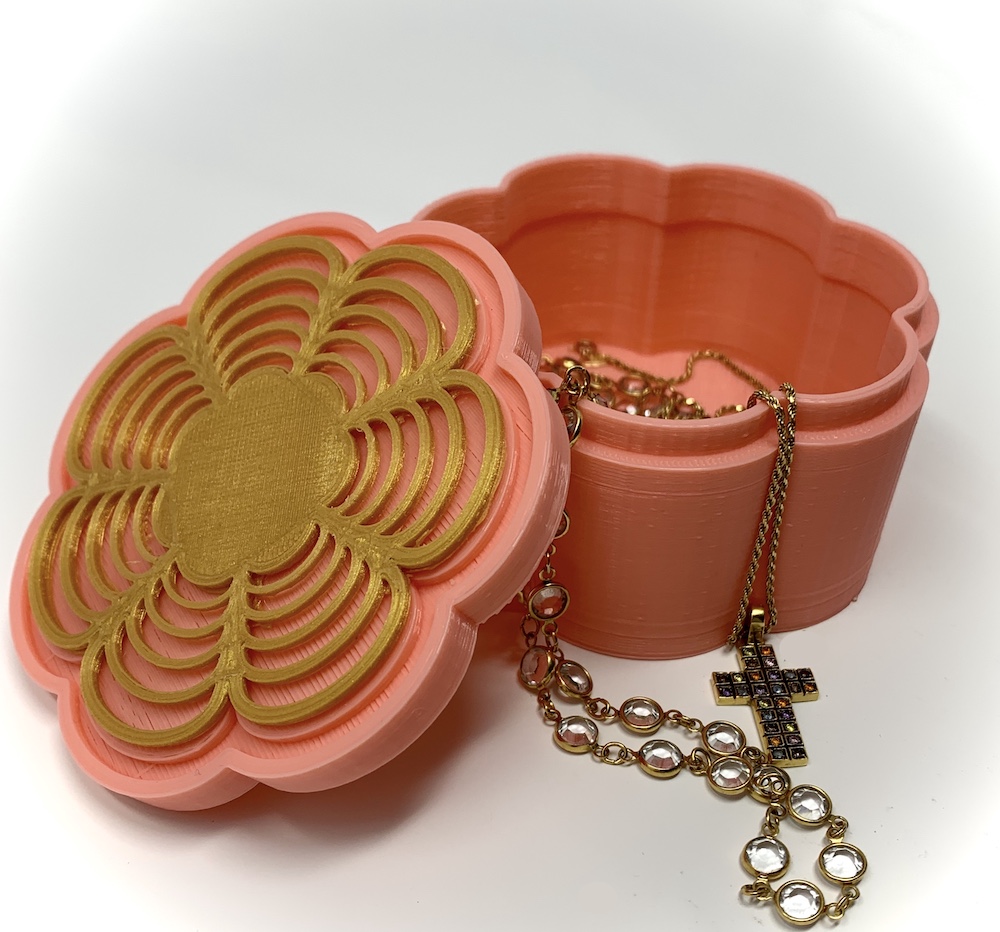
The Jewelry box was basically the same process, using Flexishapes & the Jewelry Box extrusion. However, the gold ornament on top of the box was created separate in Studio (using Flexi-shapes and the Offset tool), and printed with the new Gold Filament from Silhouette America – and then glued in place. (I will share more about designing all of this in an upcoming post).
WHERE CAN I FIND READY MADE DESIGNS?
If you aren’t quite ready to create your own designs, then there are plenty of places to find already created designs. Your Silhouette Alta & Alta Plus come with a card for 25 free Designs from the Silhouette Design Store. They will show in your 3D Library as “Free with Machine”. This little bunny was printed from one of those free designs.


Even more designs can be purchased in the Silhouette Design Store, as well. There is an entire section in the Design store dedicated to 3D designs.

The first print I ever did was from the Silhouette Design store and printed perfect on the first try – Easter Egg Cookie Cutter.

Another source for designs is a free website called Thingverse. There are tons of 3D designs available for free there. This site isn’t that “user friendly”, (in my opinion). However, if you are patient & search – -you can find a lot of fun designs there. These designs are in .STL format, which Silhouette 3D can open. Sometimes, they are too large for the Alta, and the 3D software will ask you if you want to automatically size the design to fit the Alta Platform.
This vase was downloaded from Thingverse, and I just used the Knife tool in the Silhouette 3D software to crop off the top portion of the vase.

And this little bathtub tugboat – named Benchy -came from that site, as well —
 And last but not least, is designing in the 3D software itself! I have to admit, I have only played around with this a little & not quite ready to share in a blog post. However, one of our All Things Silhouette Group members, Amanda Redman, shared an amazing file that her husband had created in the 3D software! So, I just had to purchase this file from him & print it for my grandsons. This is a Rocket Ship Nightlight that uses a tea light inside. (I purchased the ones that change colors — because the kids love that.) It is about 8 1/2 inches tall when the two pieces are put together. This is a LONG print – so don’t plan on cranking several out at one time! I used the Glow in the Dark filament from Silhouette America for this project.

I tried to capture the “glow in the dark” effect of this filament — but that is not easy to do! But, I think you get the idea in this picture. (Its not actually this dark green — there is a tea light inside.)

If you are interested in purchasing this design from Amanda, you can contact her at [email protected].
So, as you can see — the Silhouette Alta and the Silhouette Alta Plus have tremendous possibilities in printing!! I am delving more into the 3D software & will be sharing more design tutorials for that soon — as well as the design process in Silhouette Studio! I cannot believe that I was afraid to get started & waited so long! Yes, sometimes things mess up & you have to trash them! I woke up to this the other morning, when I left a long print going all night! But, a little bit of glue stick on the platform will keep it from popping off!

You have to remember that it is just a little bit of filament – and a little bit of time. One of my dear mentors (Martha Pullen) once said “Anything worth doing is worth doing poorly at first!” This is so true! So jump right in & I think you will be surprised at how quickly & easily you will be successful with the Silhouette Alta or Alta Plus!
NOTE: There are a limited number of the original Alta machines remaining in inventory at Silhouette America. They are on a tremendous sale right now for $199!! If you use my code, TERRI, there is no additional discount – but you should receive FREE shipping! These will not last long & when they are gone — they’re gone! So, if you are considering one of these, don’t delay!
One final tip that I will share – Invest in a Scotty Peeler from Amazon! Both Kelly Wayment & Lycia Evanoff shared this info with me & it has been a lifesaver!! This sharp, thin blade makes it so much easier to remove the printed items from your platform! Saves your nails! They come in a set of 2 – which is great – because I am forever losing things!!
Until Next Time --
 FYI – This post may contain affiliate advertising. This means that if you click a link in the post, I may make a commission based on your purchase. The price you pay for the product or service is not higher, and the commissions I earn allow me to keep sharing tutorials & info with you!
Stay connected with news and updates!
Join our mailing list to receive the latest news and updates from our team.
Don't worry, your information will not be shared.
We hate SPAM. We will never sell your information, for any reason.
Meet The Author

