Foil Quill Tips & Tricks
Mar 06, 2019
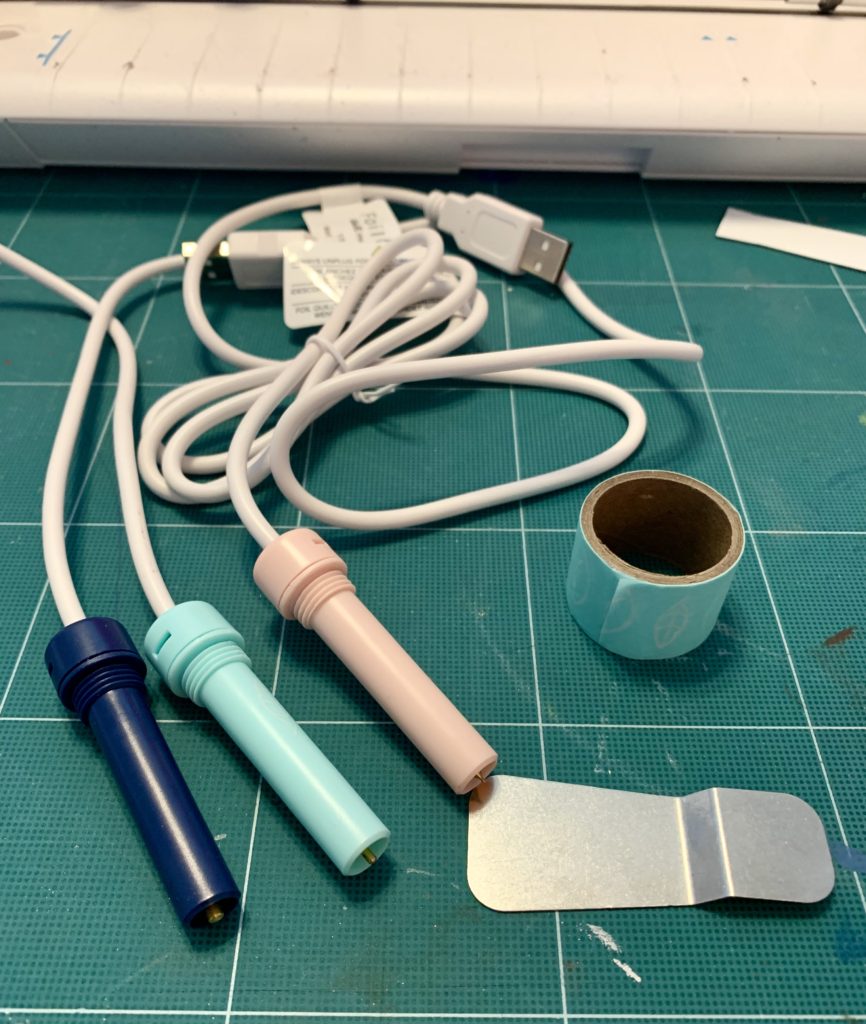
Unboxing — First, the Foil Quill is a foiling tool that is designed to work with different electronic cutters — so, if your purchase the all-in-one kit, it includes 3 tip pens (standard, bold, fine) – and comes with 4 adapters for different brands of machine. Of course, the adapter that we are most interested in is for the Silhouette machines. That is the “A” adapter. (I put the others away — don’t really know why?? You could just throw them away). This kit also includes 3 rolls of foil (gold, silver, rose gold), 1 washi tape roll, and 1 heat protection plate.
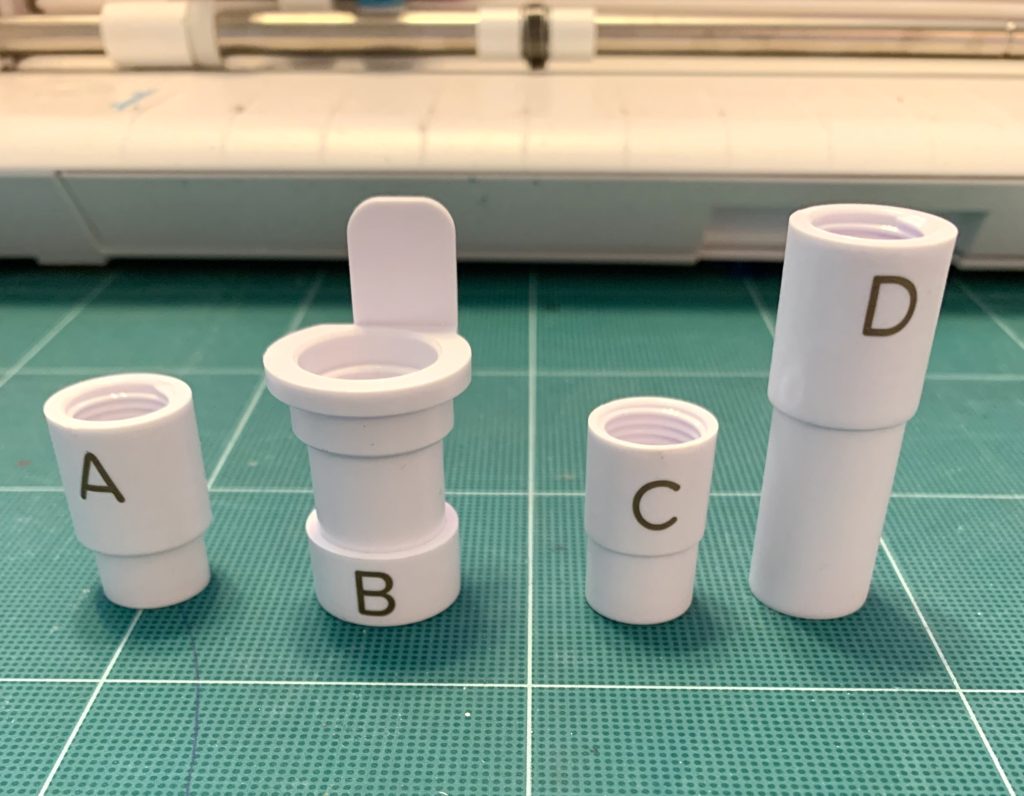
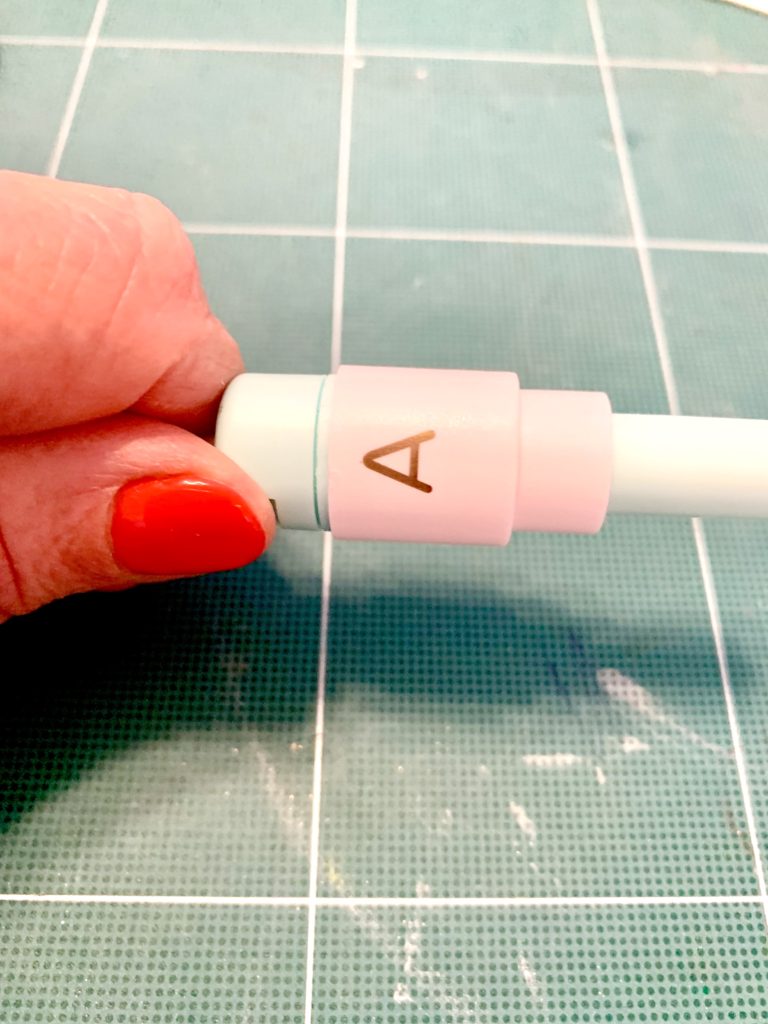
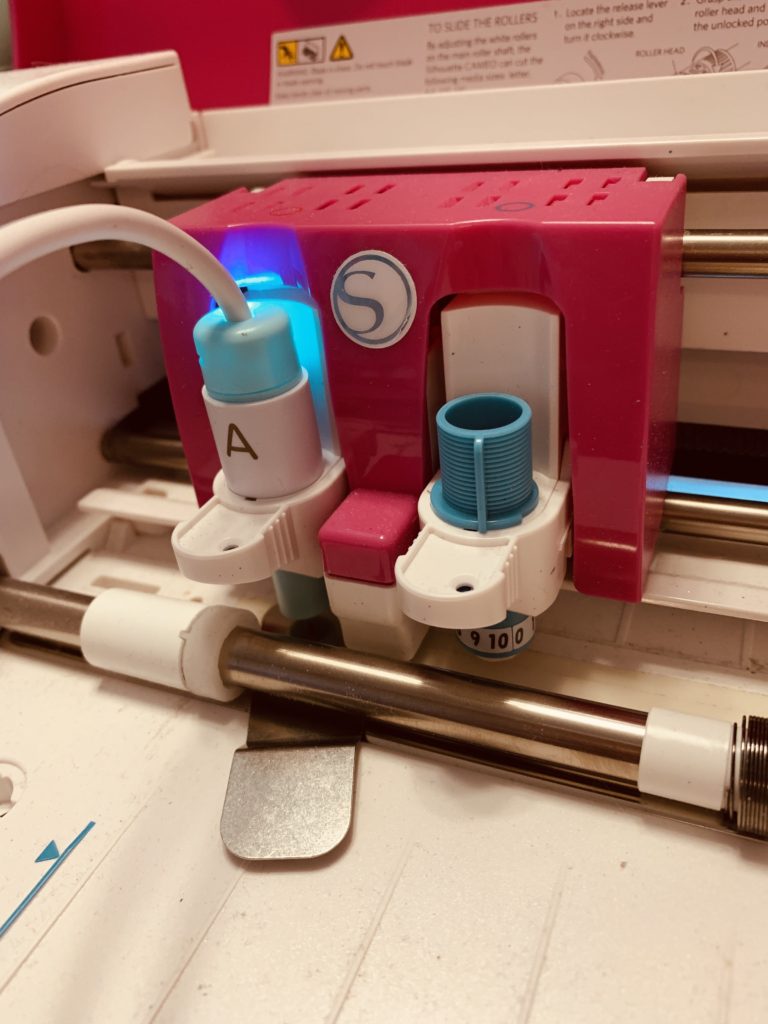
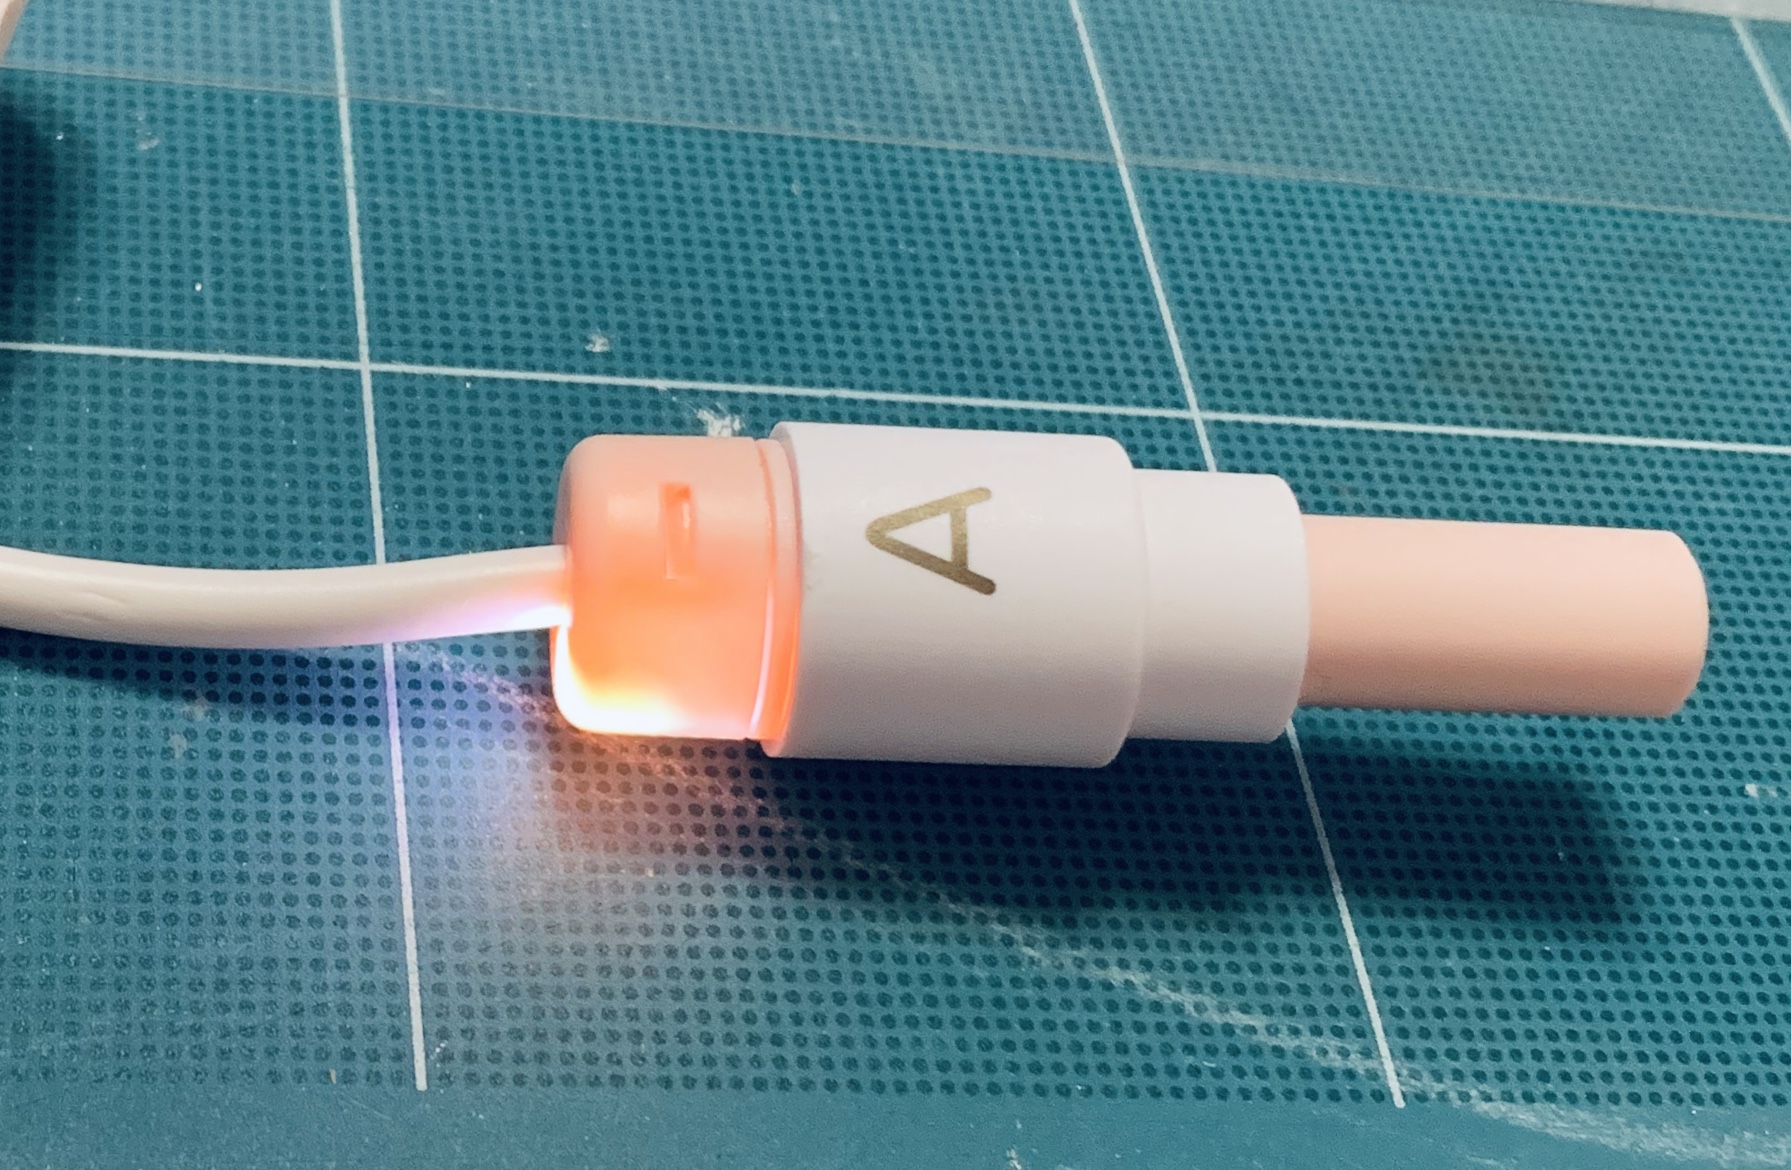
Simply slide the “A” Adapter onto the desired Foil tip & screw it on. Then, it will fit perfected into the Blade holder on your Cameo 3— either Tool one or Tool two.
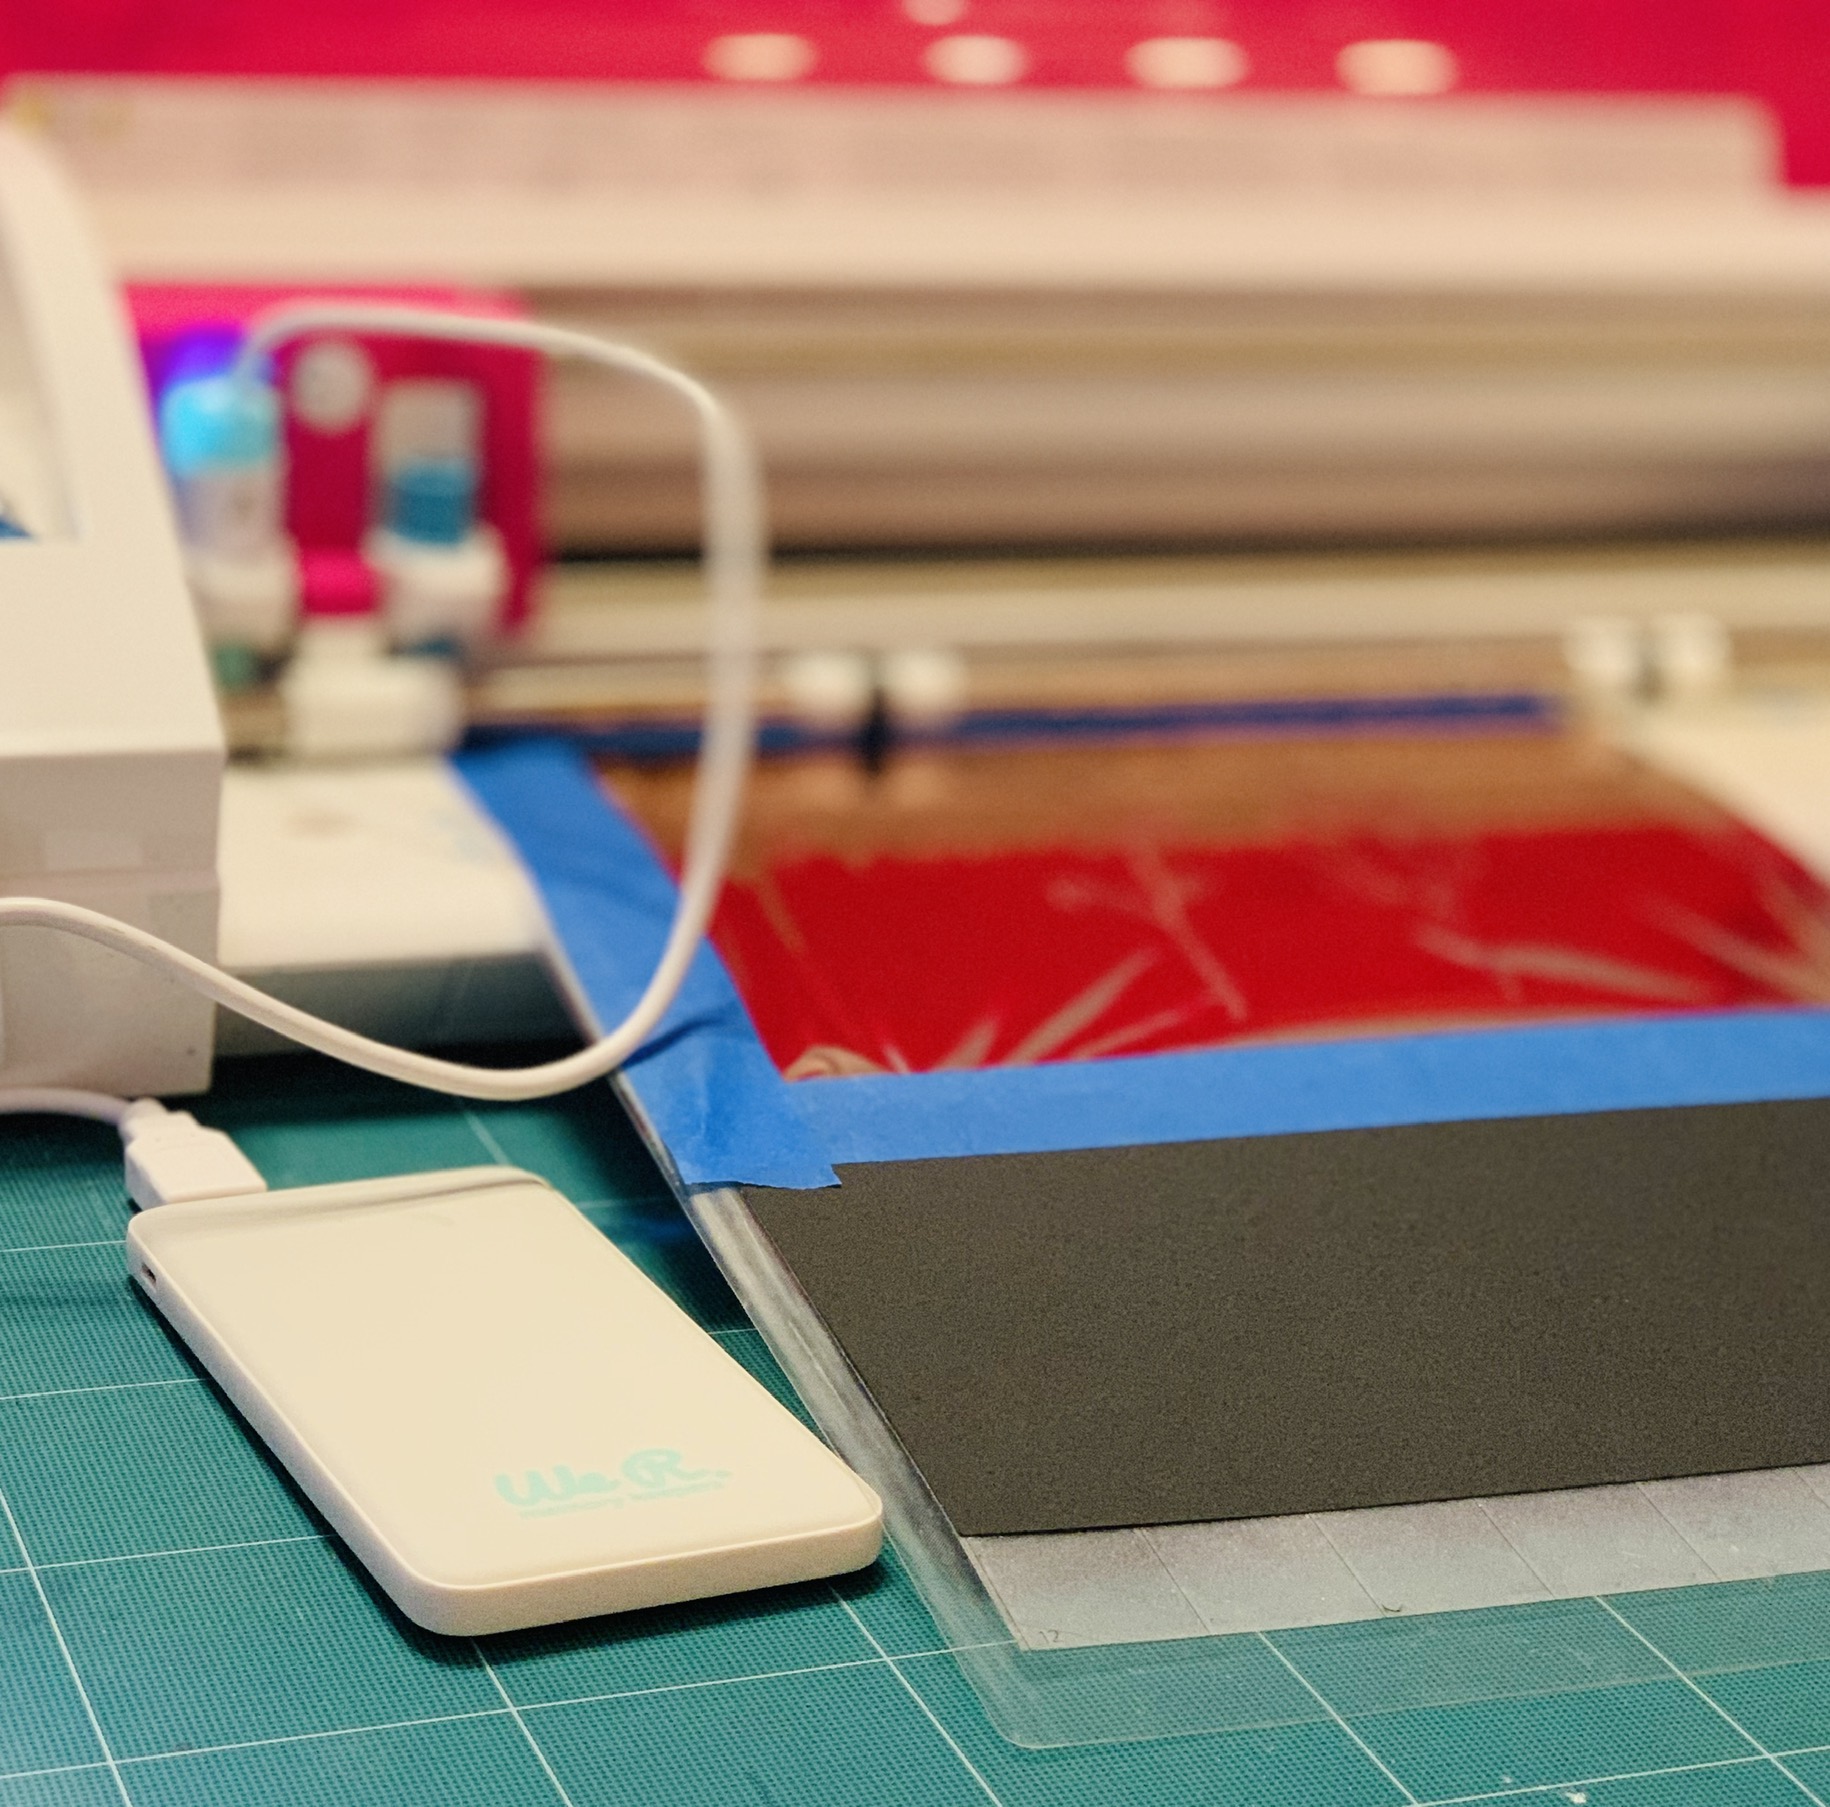
The Quilling tool needs to be plugged into a power source. Although I have seen some people plug it into their Cameo — DO NOT DO THIS!! Your Cameo isn’t designed for this purpose & it could cause a problem. Originally, I plugged it into my laptop — but I didn’t like being tethered to the laptop. So, I ordered one of these nifty little We R Memory Keepers Power banks. This power bank can be used for any other of your tools that need a USB power source. It is much easier to keep this nearby the machine, instead of another power source. (It can be plugged into any USB power source — I just find this most convenient. AND it is currently on Sale at Scrapbook.com
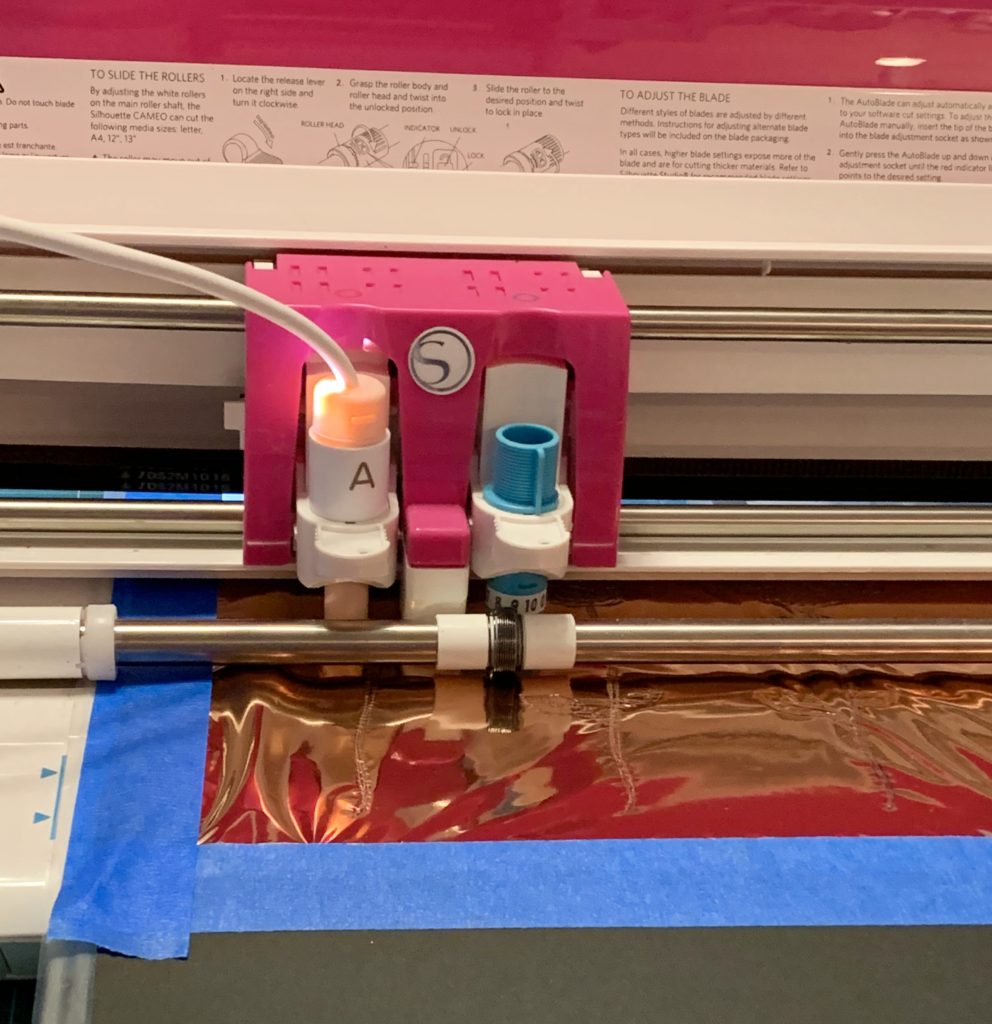
The Little metal plate is to put under the Quilling Tool while it is heating up in your machine. It is designed to protect your machine from the heat. However, personally — I struggle with removing it from the roller bar — (I’m all thumbs), so instead – -I just keep it out of the machine on my work mat — until it is heated up. It generally takes about 5 minutes to pre-heat. Then I insert it into the Cameo. Hold it by the “A” adapter, as it does get warm.
Now to the fun part!! The Quilling!!! You an use all types of designs for this — but all of these in my post are either ones that I designed, or they are ones that come from the Silhouette Design Store.
While your Quill tip is heating up, you can prepare your material & mat. You can quill on a wide variety of materials, however for this blog post — I used a variety of Card Stock and the Silhouette Leatherette (which is 30% off at Silhouette America right now! With my code TERRI applied at checkout!
Simply adhere your material to the Silhouette mat & then cover the area you want to Foil with your foil, using the included tape to adhere the foil to the mat. (You will see in some samples that I used blue painters tape, because I went through that little roll of tape that came in the kit pretty fast!) Honestly, any low tack tape will work.
The foil that comes in the kit is a Heat Activated Foil – so, that means that the huge stash of foil I had purchased for my Minc Laminator will not work! (I tried — it doesn’t work.) I quickly realized that I was going through the little rolls in the kit & so promptly ordered more. I prefer the 12″ rolls from We R Memory Keepers — so I can foil an entire 12″ page, if I want. Swing Design has a lot of the colors in the 12″ rolls –– and at $7.99 — which is a great price! (Some colors are sold out). I also tried this Spellbinders Glimmer Foil on Amazon & it works great! (Its just 6″ though). A few of the other foils that work are Couture Creations Foil, Crafters Companion Gemini Foil, & Heatwave Foil from We R Memory Keepers. But again, all of these are only 6″ wide rolls — so keep a look out for the 12″ inch rolls when they are available! I am sure that there are other foils that will work — these are just a few that I found. Remember, it has to be heat activated foil – -not toner activated!
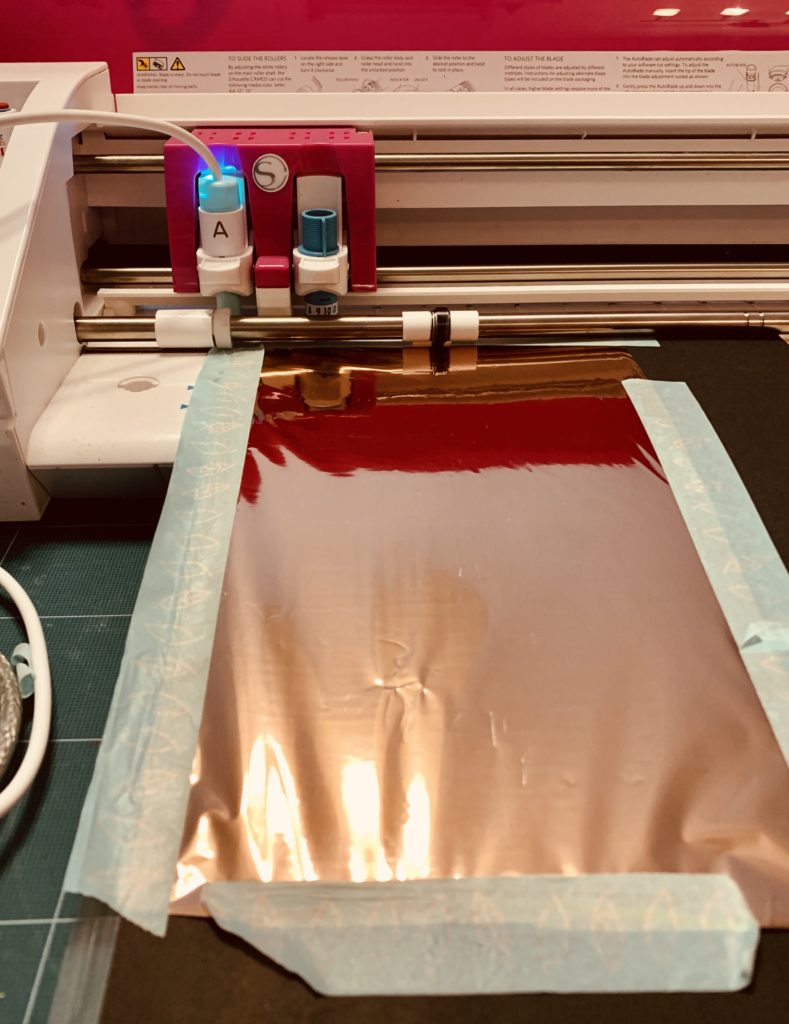
Simply tape the foil to your Card Stock — being sure to get it as smooth and tight as possible. And then load your mat as usual!
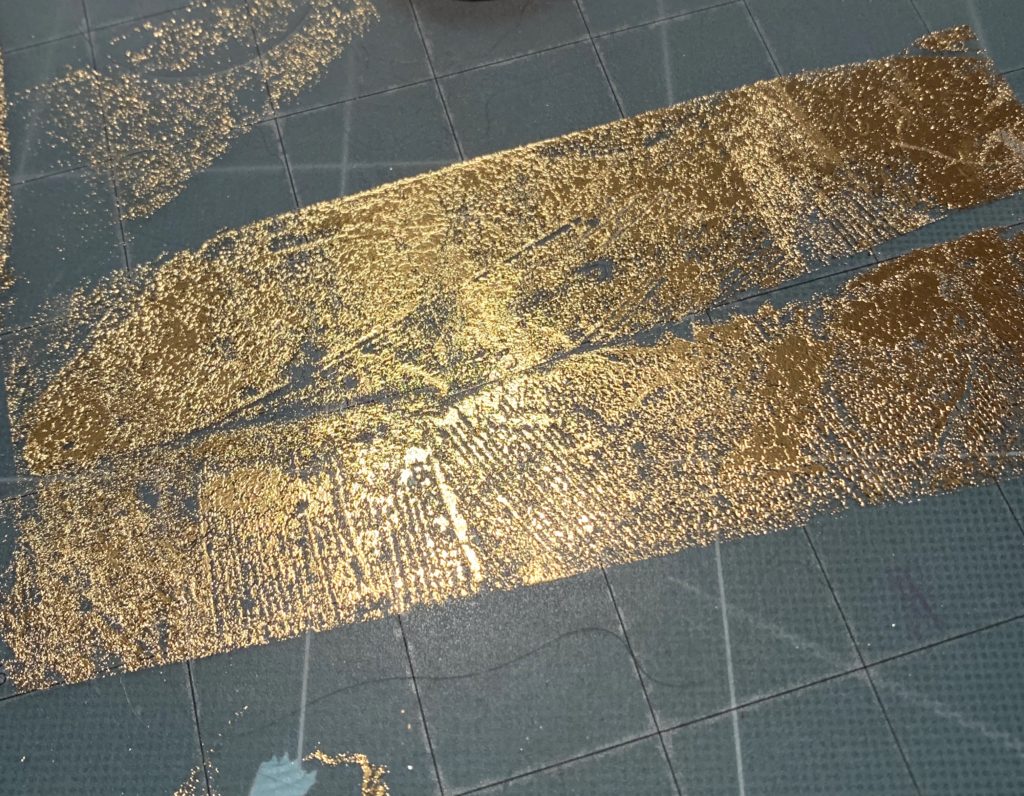
Try not to let the foil touch your mat — or you will have this! It does come off with some scrubbing & a baby wipe — but really reduces the stickiness of your mat!
Designs —
Like I said earlier, I simply used designs from the Silhouette Design store. You can just search for “Sketch” designs & find all sorts of designs that will foil beautifully!! This is Design #43409 from the Silhouette Design Store. It comes with a cut line already around the sketch file – so that makes it easy to foil & cut! I am only using one of the flowers from this design – and turned the outer cut line to green –> so that I could Cut by Line.
Click on the Send Panel & make all of your adjustments — Because I am Foiling & then cutting — I selected Tool One for the Foil (Sketch) and Tool 2 for the Cutting. Be sure to select the appropriate action for each tool. You can add a Pause in the software to stop between foiling & cutting (to remove the foil before cutting). However, I forgot in this picture – -and honestly, sometimes I just find it easier to pause on the machine panel and then resume.
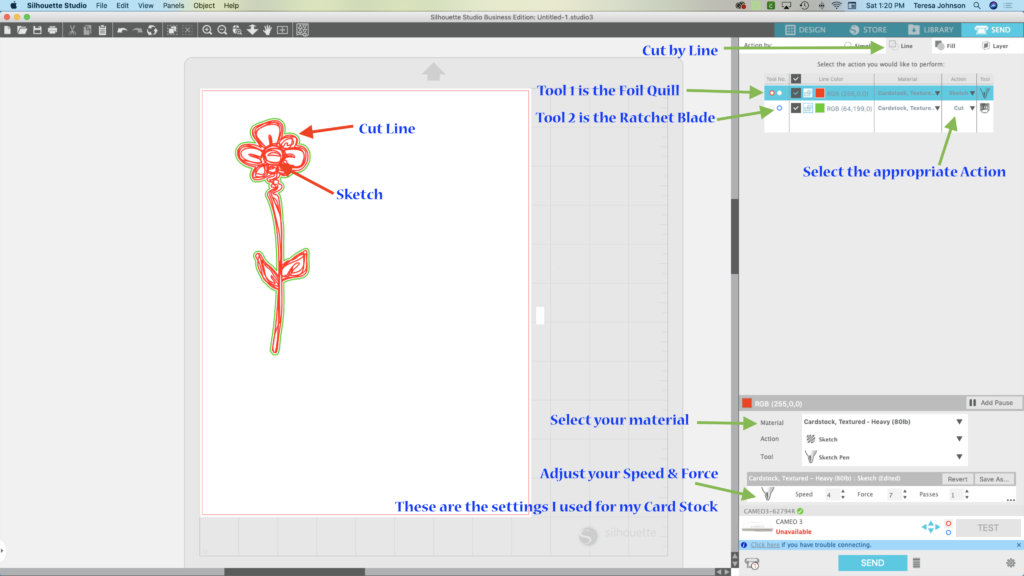
You also need to adjust your settings for Speed & Force. This takes some Trial & Error — and some is personal preference. Personally, I found that I got a much nicer looking foil if I took the speed down to 3 or 4. Also, the samples on the black cardstock were all done at a Force of 7. I found that you get a much shinier foil look with less pressure – but again, this is personal preference. So just play around and see what settings you like on your Card Stock or material. Now, you are ready to hit “SEND”!
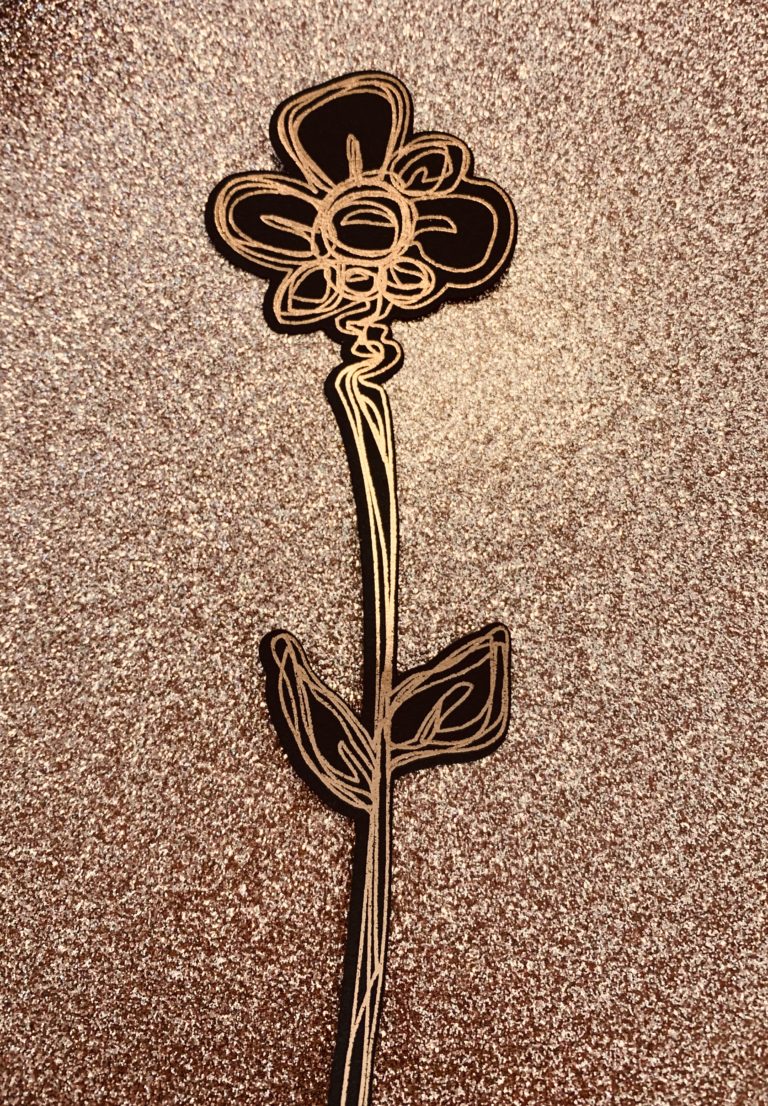
This flower used the largest tip on plain, black Card Stock — Force of 7, Speed of 4 and 1 pass — Material was Card Stock – Textured.
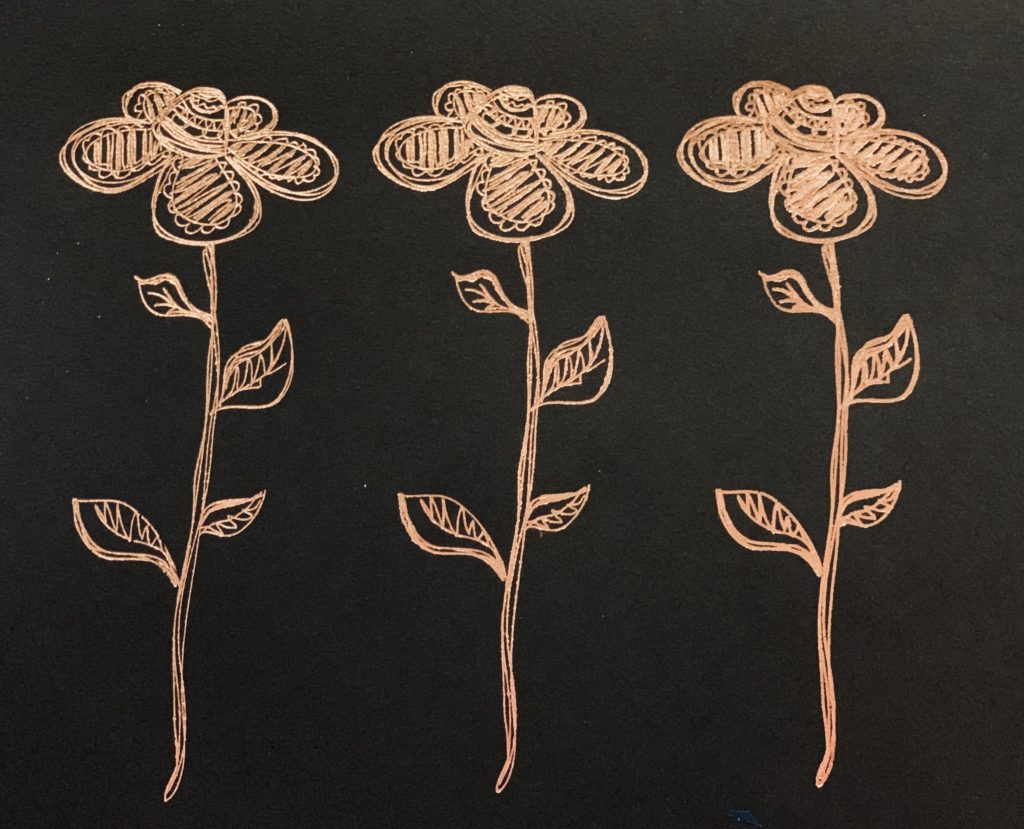
This picture shows the same flower, foiled at the same settings (as above) — and the only difference is the size of the Foil Tip. Left is small, middle is medium & right is wide. I think that which tip you use depends on the design. I feel like the wides tip on this design looks messy – -so I would probably use the smaller one. Again, this is personal preference.
These earrings were foiled on the Silhouette Leatherette – -again with a design from the Design Store — and then cut. I used a higher force of 16 for this design. (Ear Wires are from Craft Chameleon).
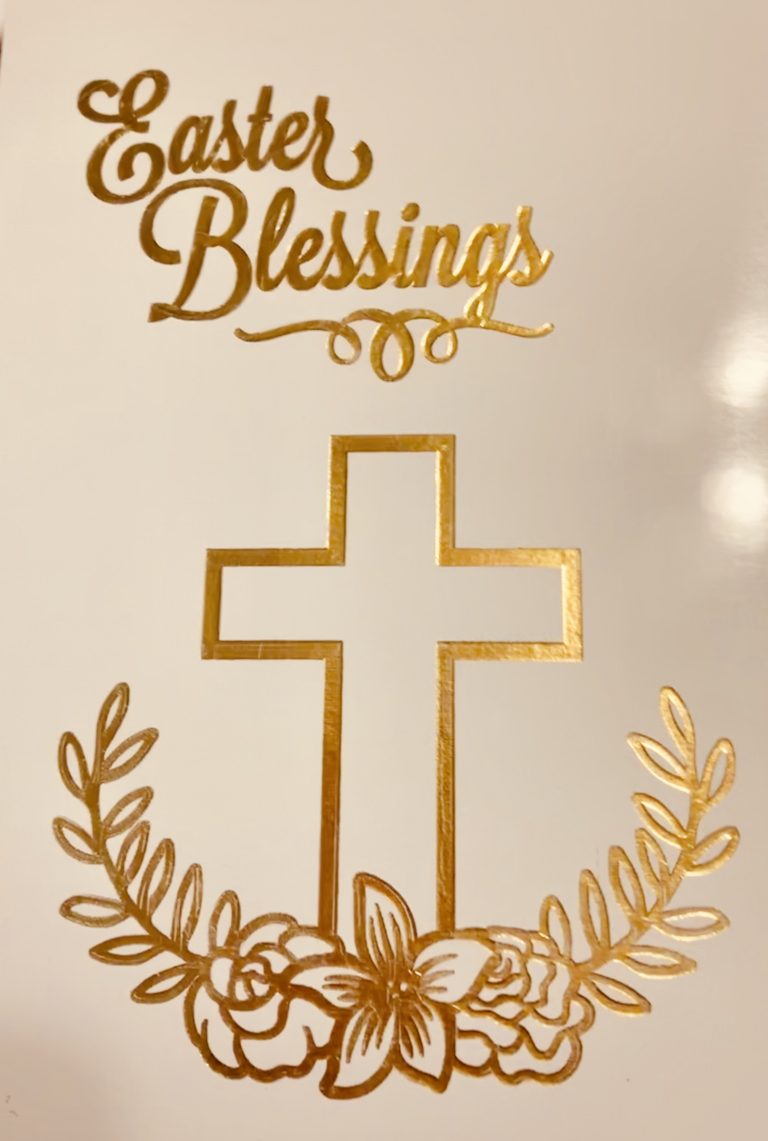
And finally, this Easter Card was created using two designs from the Silhouette Design Store — and the emboss features in Silhouette Studio — How to use both the sketch & emboss features will be shared in an upcoming tutorial blog — so stay tuned! There is really no limit to shat you can do with the new Foil Quill & your Silhouette Cameo!!!
Until Next Time--
 FYI – This post may contain affiliate advertising. This means that if you click a link in the post, I may make a commission based on your purchase. The price you pay for the product or service is not higher, and the commissions I earn allow me to keep sharing tutorials & info with you!
Stay connected with news and updates!
Join our mailing list to receive the latest news and updates from our team.
Don't worry, your information will not be shared.
We hate SPAM. We will never sell your information, for any reason.
Meet The Author

