Cutting Fabric on Your Silhouette for Machine Embroidery
Jan 16, 2019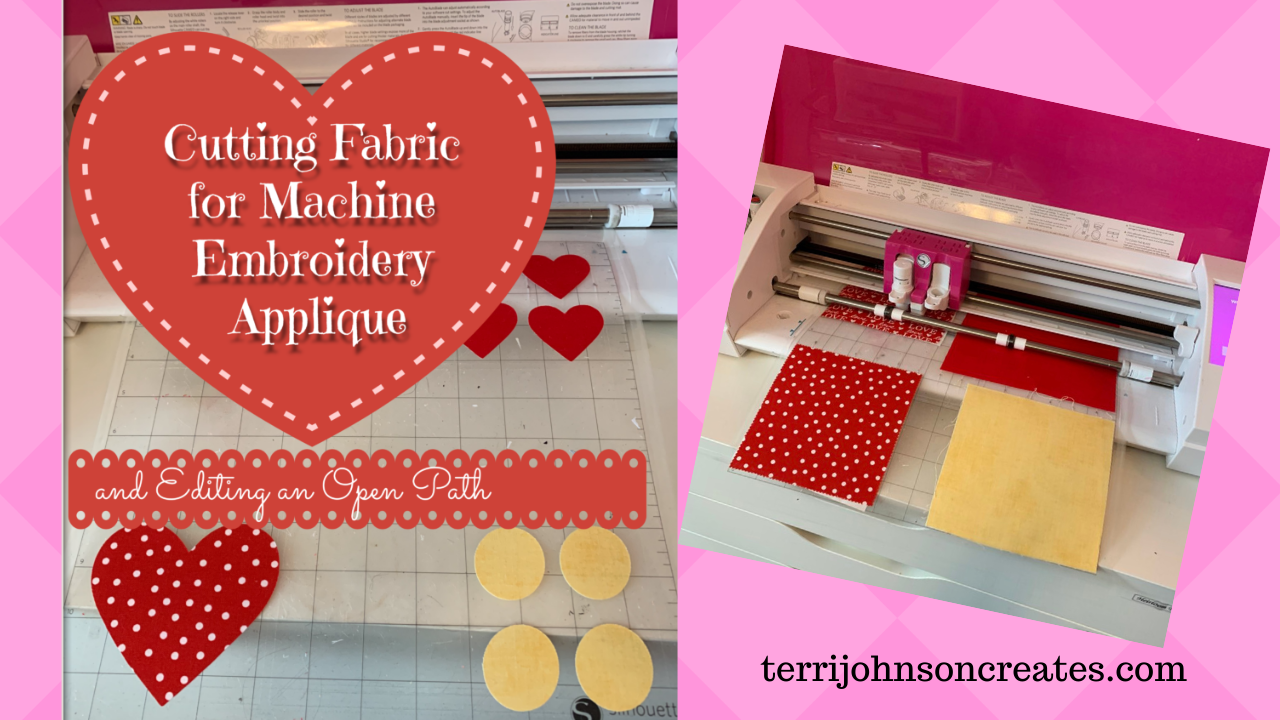
Using the upgraded version of Silhouette Studio — Designer Edition Plus — I am able to open my embroidery designs right in Studio. Every stitch of your embroidery design comes into Studio as a cut line — its hard to tell, because the stitches are dense & close together. However, if you enlarge or zoom in, you will see.

You will notice that the design comes in ungrouped (so I can select just part of it). The heart is the appliqué, so I am selecting the satin stitches of the appliqué & deleting this. This isolates the placement stitch & tackdown stitch. You have to move one out of the way, as there are two right on top of one another.

At this point, I am going to delete everything, except the first color stop — which is the placement stitch (and in this example, the green line).
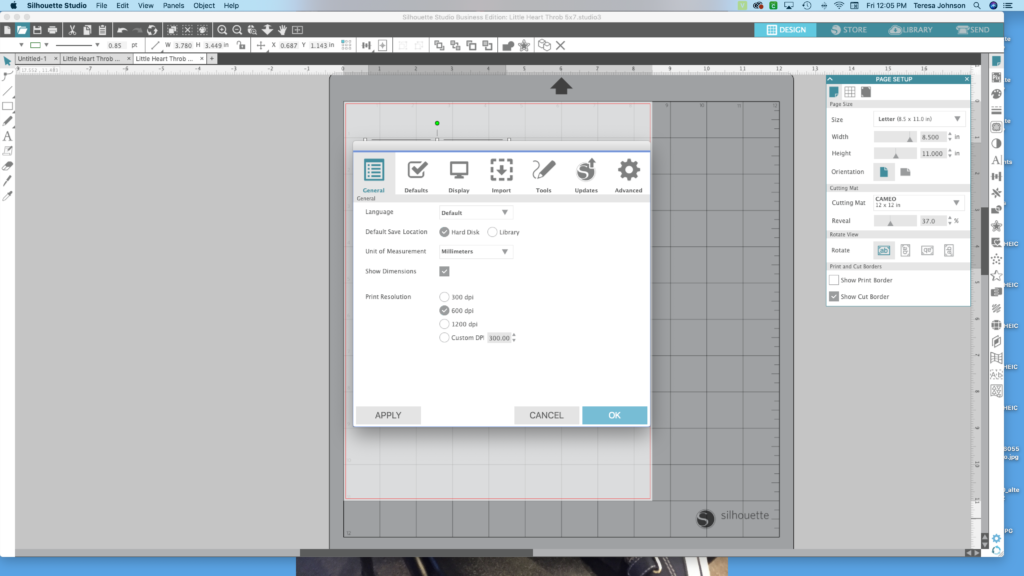
I always like to offset & enlarge my design by one mm, to be sure that all of the fabric edges are caught in the satin stitching — but not so much so that the fabric pokes outside of the satin stitching. In order to do this, go into the preferences setting & change your display to mm. (The Preference window can be accessed by using the keyboard short cuts — Cmd +K on a Mac, or Ctrl +K on a PC — or clicking on the little gear icon in the bottom right hand corner of your screen.
Once that is done, open the Offset window, & select your heart. When you click on the offset button, you may find that your design gives you an internal, as well as an external offset. This is because the stitch line is an open path – -or not completely closed.

In order to correct this, double click on the heart (delete the offset first – or undo) and you will see the edit points. There are a lot, because it’s created from stitches – but you will see that there is one (at least) red point. This indicates the spot where the path is open. So, simply click on that red spot — and almost like a magnetic magnet — it will connect to the nearest point, creating a closed path. You can tell that the path is closed, because not only do you just get on offset — but now you can fill it with color. (Sometimes, there are is than one open spot – you just have to move around some of the edit points to find the red one).


After closing the open path, create your 1mm offset. 
Then, delete the original heart (I filled it with pink, so you could see) — and you are ready to prepare your fabric for cutting! In order to stabilize the fabric, I recommend treating it with Terial Magic first.

This stiffens the fabric, so that you can get a clean cut on your Cameo — and then washes out, leaving the fabric in its original state. For more information on using this product, check out my blog post here – Sewing with Silhouette.
In addition to stabilizing my fabric as described in the previous blog post, I want this appliqué to be fusible – so I am also going to adhere a double sided fusible to the back of my fabric before cutting. I’ve tried a whole lot of fusible, and my favorite is Heat n Bond Lite — for sewable projects. It will not gum up your needle & is easy to sew through, and it holds your appliqué in place while stitching — and reduces wrinkling when the garment is washed.
Adhere your fabric to your cutting mat & be sure it is secure. I sometimes use a brayer, to roll over the fabric & get it nice & stuck!


Now — you are already to begin stitching and creating beautiful machine embroidery appliqué designs! You may notice that I cut multiples of my appliqués, even if I’m only making one. I save the rest in ziplock baggies & store away — as I know I will be making more in the near future – -with 5 grandchildren! Sure makes embroidery so much faster & fun!


All of the embroidery designs used in this post were purchased at Embroidery Boutique. No connection — just a fan! https://www.embroidery-boutique.com
 FYI – This post may contain affiliate advertising. This means that if you click a link in the post, I may make a commission based on your purchase. The price you pay for the product or service is not higher, and the commissions I earn allow me to keep sharing tutorials & info with you!
Stay connected with news and updates!
Join our mailing list to receive the latest news and updates from our team.
Don't worry, your information will not be shared.
We hate SPAM. We will never sell your information, for any reason.
Meet The Author

